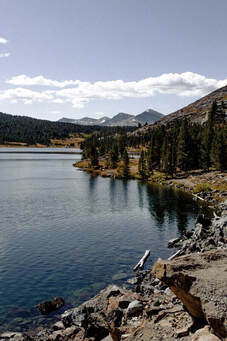
Body Of Water
Original
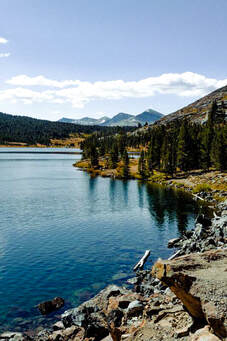
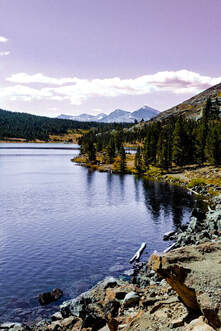
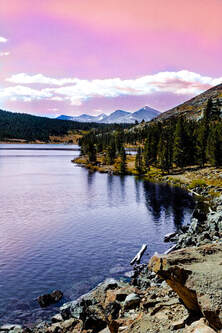
Edits
|
Yellow Girl
Original
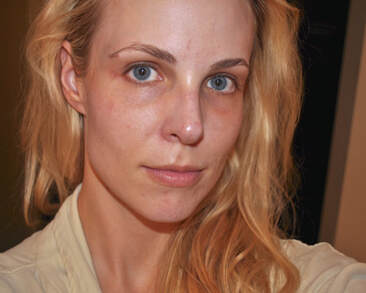
First, I found the white balance of the image because it was originally very yellow. I could tell it was yellow because her shirt is initially supposed to be whiter then it actually is in the picture. After I found the white balance, I went in with the healing tool and got rid of any noticeable blemishes. This is all I did for the first edit.
|
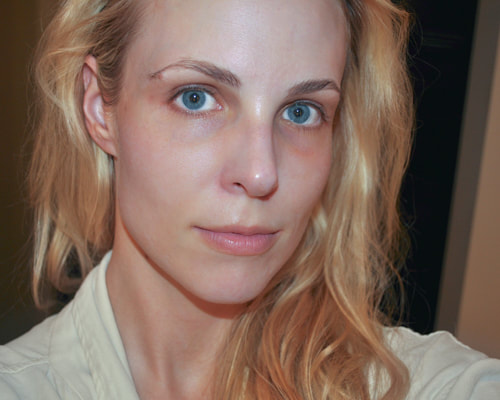
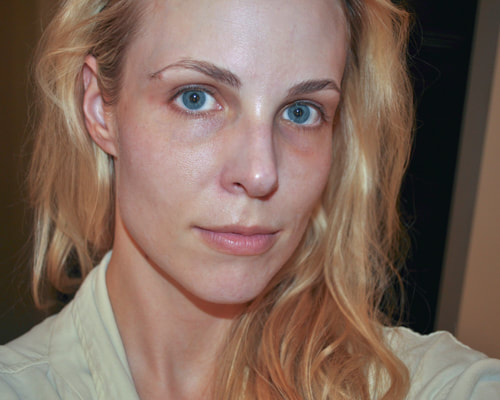
In the next part of editing the image, I decided to go in with the skin softening tool. This reduced some of her large pores on her cheeks. The dark circles were a bit harder to soften, but for the majority of her face, the smoothing tool worked very well to get rid of smaller blemishes and wrinkles.
|
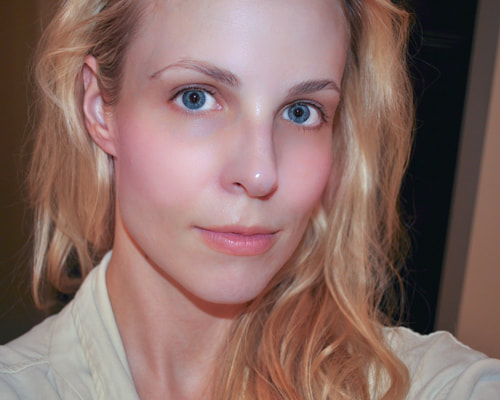
This image was the final edit. I went in with the feathering tool on her face to get rid of the dark circles under her eyes. I used the colour feathering tool to enhance the colour of her lips as well. To follow I used the same tool to make her eyes a bit more of a darker blue to stand out. I wanted to make her eyes pop so I used the burning tool to outline her iris black and make her pupils darker. I then used the same tool to darken her eyelashes. To finish off the edits, I used the whitener to brighten up her shirt and sclera.
|
